

Step 6: Interaction Modeling – The Sequence View (Events and Messages)
In previous steps, we defined the static structure of our system and its internal behaviors. Now, we move to Interaction Modeling. While a State Machine describes how a single part changes modes, a Sequence View (short name sv) describes how multiple parts talk to each other over time.
A Sequence View presents the time-ordering of event occurrences on lifelines. It is essentially a script for a specific scenario, showing who sends what message to whom, and in what order.
1. Lifelines: The Participants
In an interaction, each participant is represented by a lifeline. A lifeline represents the existence of a part over time.
- The Coding Rule: We declare these participants as local part usages within the interaction definition.
- Defining Events Locally: Instead of cluttering our global blueprints (from Step 3) with every possible signal, we define “happening” moments (like
setsTemporreceivesConfirm) directly inside these lifelines using curly braces{}. This tells the model: “In this specific scenario, this part experiences these specific events.”
2. Messages: The Transfer
A Message asserts that information, a signal, or a command moves from a source event on one lifeline to a target event on another. It is the “conversation” between parts.
- Syntax:
message <name> from <source_event> to <target_event>;
Messages are the glue that connects independent lifelines into a coordinated system behavior.
3. Explicit Ordering (first/then)
Time is critical in interactions. While events on a single lifeline are naturally ordered top-to-bottom (or using the then keyword), we can also explicitly order the messages themselves. This ensures that the entire “conversation” follows a logical path—for example, ensuring a request is sent before a response is received.
Hands-On: Creating ClimateInteractions.sysml
We will create a new file to define a complete interaction cycle: the HomeOwner updates the temperature setpoint, and the Controller processes it and sends back a confirmation message.
-
- Create the New File
Navigate to your project folder Smart Home Climate System in the Navigator pane. Click on New File.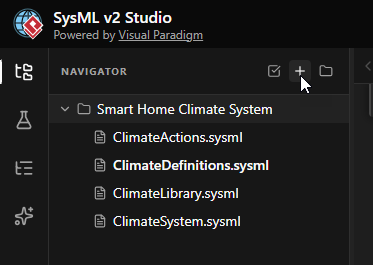
- Name the FileEnter
ClimateInteractions.sysmlas the filename and click Create.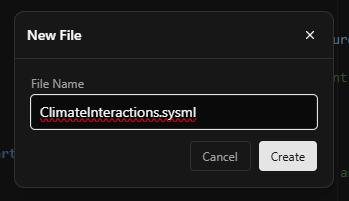
- Define the Package and Imports
Start by defining the package. We need to import our library and definitions to access theHomeOwnerandControllertypes.package ClimateInteractions { private import ClimateLibrary::*; private import ClimateDefinitions::*; }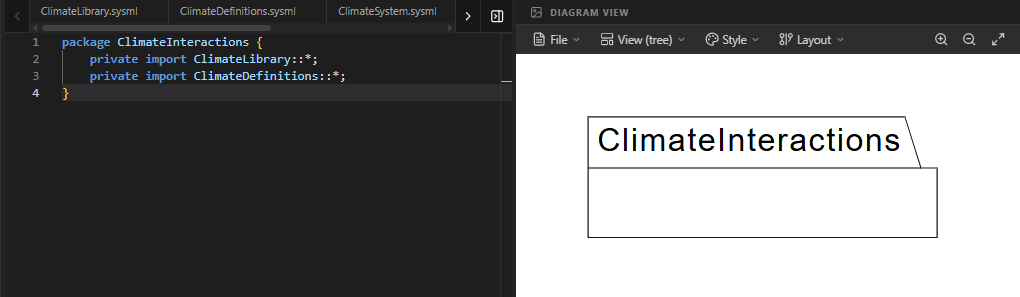
- Define the Interaction Blueprint (
HomeUserInteraction)
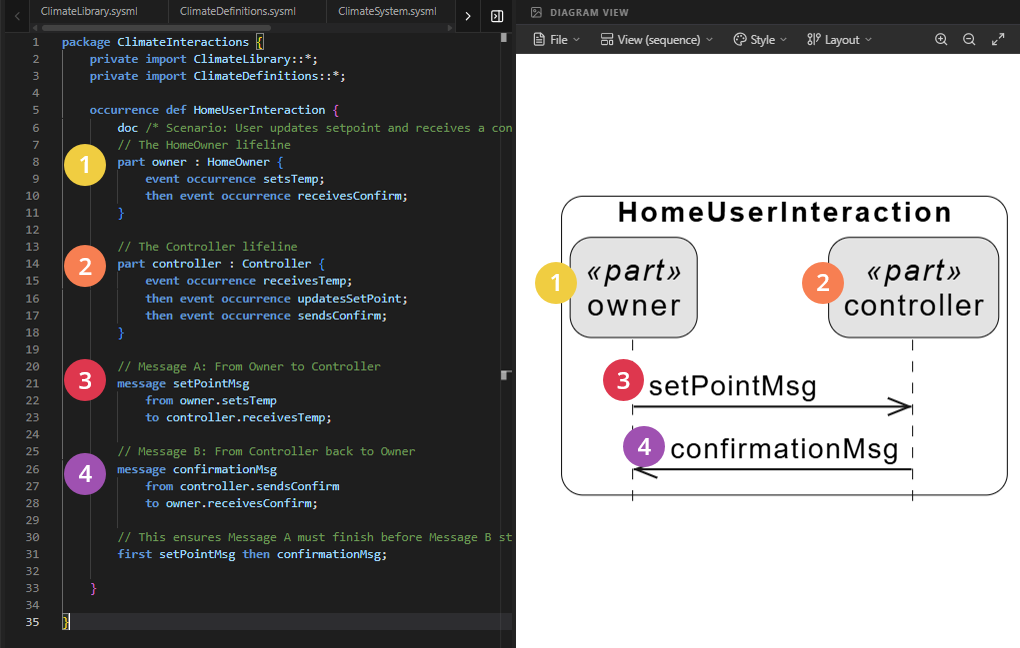
We useoccurrence defto define a specific scenario. Inside, we declare the two participants: theownerand thecontroller.occurrence def HomeUserInteraction { doc /* Scenario: User updates setpoint and receives a confirmation signal. */ // Lifelines will go here... }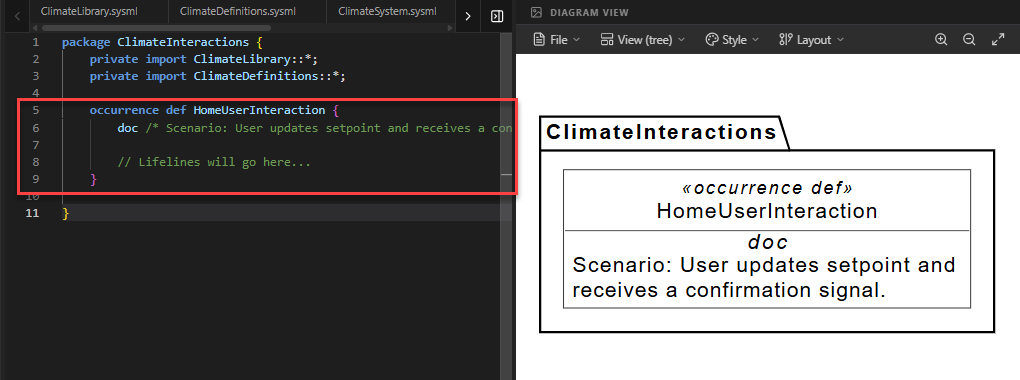
- Define Lifelines and Local Events
Inside the interaction, we define the parts. Notice that we declareevent occurrenceelements directly inside them. These events exist only for this specific scenario.- Owner: Has an event
setsTemp(when they adjust the dial) andreceivesConfirm(when they see the update). - Controller: Has events for receiving the data, updating its internal state, and sending a reply.
        // The HomeOwner lifeline
        part owner : HomeOwner {
            event occurrence setsTemp;
            then event occurrence receivesConfirm;
        }

        // The Controller lifeline
        part controller : Controller {
            event occurrence receivesTemp;
            then event occurrence updatesSetPoint;
            then event occurrence sendsConfirm;
        }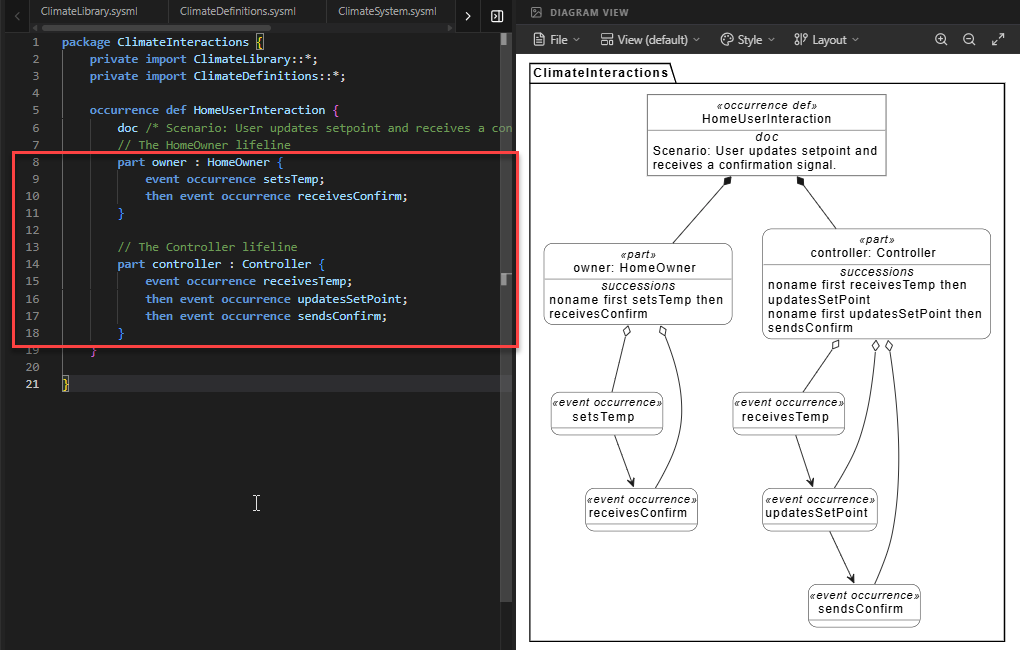
Code Explanation: The
thenkeyword inside the part blocks ensures that, for example, the controller mustreceiveTempbefore it canupdatesSetPoint. - Owner: Has an event
- Define the Messages
Now we connect the lifelines with messages. We define two messages: one for the request and one for the response.// Message A: From Owner to Controller message setPointMsg from owner.setsTemp to controller.receivesTemp; // Message B: From Controller back to Owner message confirmationMsg from controller.sendsConfirm to owner.receivesConfirm;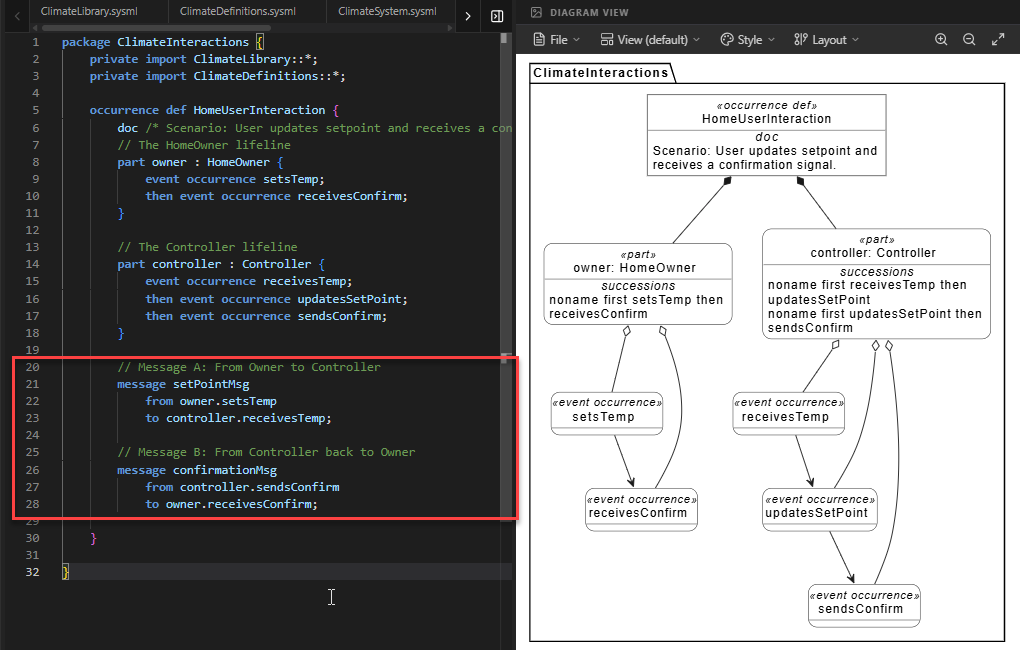
- Enforce Global Order
Finally, we ensure the messages happen in the correct sequence. The request must be sent before the confirmation can be returned.// This ensures Message A must finish before Message B starts. first setPointMsg then confirmationMsg;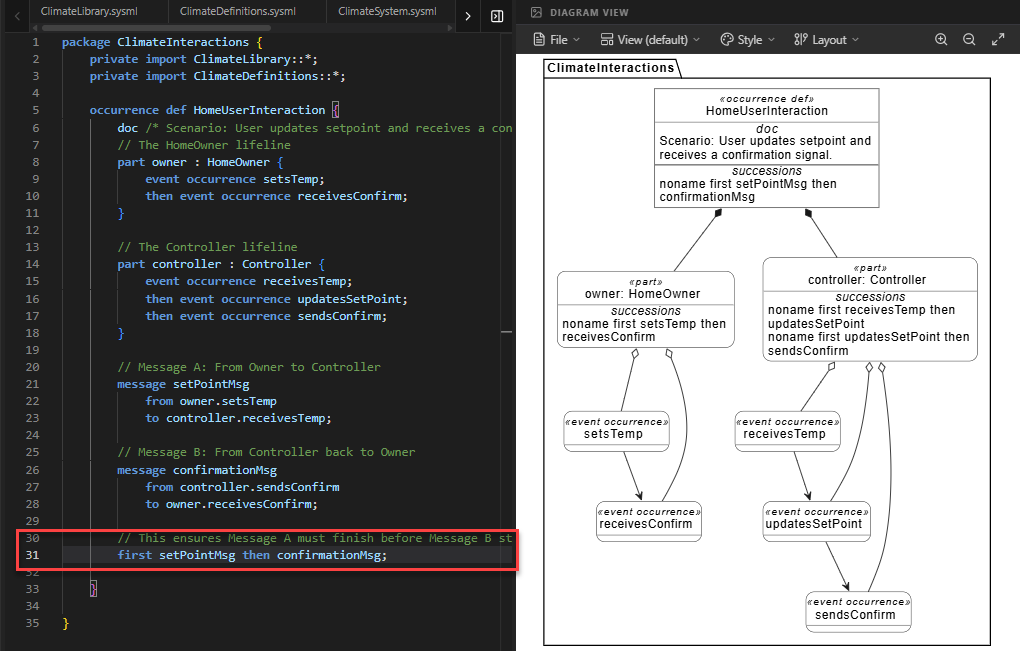
- Create the New File
Visualizing the Sequence View
You might notice that after writing the code, the diagram on the right does not immediately look like a traditional Sequence Diagram (with vertical lifelines and horizontal arrows). Don’t worry—your code is correct!
A single namespace in SysML v2 can contain multiple aspects of a system—structure, behavior, requirements, and more. By default, the SysML v2 Studio attempts to intelligently analyze your code and render the most appropriate generic view. In this case, it may default to a Tree View or a Default Structure View.
To see the specific Sequence Flow with lifelines and messages, you need to manually switch the visualization mode.
How to Switch to Sequence View:
- Locate the View dropdown menu at the top of the Diagram Viewer panel. It usually displays the current view name (e.g., “Default” or “Tree”).
- Click the dropdown and select Sequence.
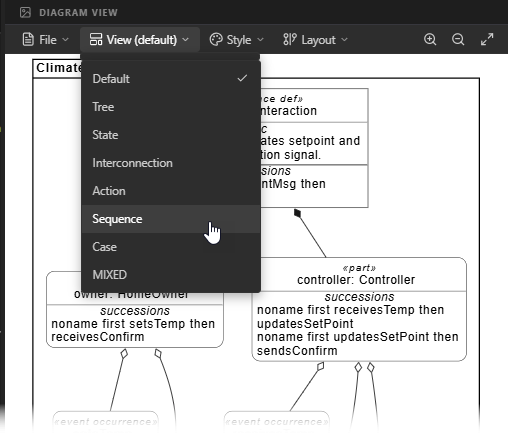
The diagram will immediately update to present the behavioral model, showing the owner and controller as vertical lifelines and the messages as horizontal arrows between them.
Full Code for Step 6
package ClimateInteractions {
private import ClimateLibrary::*;
private import ClimateDefinitions::*;
// 1. INTERACTION DEFINITION (The scenario blueprint)
occurrence def HomeUserInteraction {
doc /* Scenario: User updates setpoint and receives a confirmation signal. */
// 2. THE LIFELINES & LOCAL EVENTS
// Note: 'setsTemp' and 'receivesConfirm' are declared here
// specifically for this interaction scenario.
part owner : HomeOwner {
event occurrence setsTemp;
then event occurrence receivesConfirm;
}
part controller : Controller {
event occurrence receivesTemp;
then event occurrence updatesSetPoint;
then event occurrence sendsConfirm;
}
// 3. THE MESSAGES (The "Conversation")
        // Message A: From Owner to Controller
        message setPointMsg
            from owner.setsTemp
            to controller.receivesTemp;

        // Message B: From Controller back to Owner
        message confirmationMsg
            from controller.sendsConfirm
            to owner.receivesConfirm;
// 4. EXPLICIT MESSAGE ORDERING
        // This ensures Message A must finish before Message B starts.
        first setPointMsg then confirmationMsg;
}
}Detailed Breakdown of the Coding Constructs
- Local Event Declarations: By declaring
event occurrence setsTempinside thepart ownerblock, you are creating a feature that exists only within the scope of this interaction. This keeps your global blueprints clean and avoids “missing definition” errors. thenon Lifelines: On thecontrollerlifeline, we usethento show a strict internal sequence: it must receive the data, then update its memory, then send a confirmation.- The Message “Return”: The
confirmationMsgshows a flow from the system back to the actor. This is a standard MBSE pattern used to close the “feedback loop” and confirm user actions. first ... then ...(Message Level): Placing this at the end of theoccurrence defacts like a director’s script, ensuring the messages happen in the correct chronological order across different lifelines.
Summary of SysML Elements Used
The table below summarizes the key SysML v2 elements introduced in this step.
| SysML Element | Purpose | Code Context |
|---|---|---|
occurrence def |
Defines a specific scenario or interaction blueprint involving multiple parts. | occurrence def HomeUserInteraction { ... } |
part [name] : [Type] |
Declares a lifeline (participant) within the interaction. | part owner : HomeOwner; |
event occurrence |
Defines a specific moment in time on a lifeline where something happens. | event occurrence setsTemp; |
message |
Defines the transfer of information or signals between two events on different lifelines. | message setPointMsg from ... to ...; |
Summary of What You Just Did
- Created a Robust Scenario: You moved beyond a single message to a realistic request-response cycle.
- Mastered Local Scoping: You learned how to define events locally within an interaction to avoid cluttering your global blueprints.
- Synchronized Interactions: You used both internal (lifeline) and external (message) ordering to define a precise timeline of events.
In Step 7 (Discrete Modes), we will show how the system reacts to this receivesTemp event by triggering a state transition, linking our Sequence View to the State View.
Ready to Model Your Own Systems?
Stop drawing static diagrams. Start building intelligent, verifiable models with SysML v2 Studio. Experience the power of the Digital Thread today.
